Table of Contents
- The Cocoa Plant
- Harvesting Cocoa Pods
- Pod Opening Process
- The Role of Fermentation in Cocoa Processing
- Fermentation Methods
- Understanding Fermentation Duration
- The Science Behind Flavor Development
- Drying the Fermented Beans
- Quality Assessment of Fermented Beans
- The Impact of Fermentation on Final Chocolate Quality
- Innovations in Cocoa Fermentation
- Education and Training for Farmers
- The Role of Chocolatiers in Cocoa Quality
- To wrap up
Just as you inspect pods, the cocoa fermentation process transforms fresh pulp into the chemical precursors of flavor. The cocoa fermentation process requires you to control time, temperature and aeration to shape acidity and aroma. The cocoa fermentation process influences microbial succession and biochemical reactions, so you monitor turning and sampling. Mastering the cocoa fermentation process lets you improve chocolate quality and refine your drying and roasting choices. This cocoa fermentation process shapes outcomes.
The Cocoa Plant
You handle pods knowing they come from Theobroma cacao, a small, evergreen tree in the Malvaceae family whose diploid genome is 2n=20. Wild and cultivated populations fall into three broad groups—Criollo, Forastero and Trinitario—with pods weighing roughly 200–500 g and containing 20–60 beans, features that shape how the cocoa fermentation process plays out from pulp composition to bean density during fermentation.
Botanical Classification
You’ll note Theobroma cacao is classified within Malvaceae; genetic studies split lineages into Criollo, Forastero and Trinitario, and modern genomics trace domestication centers in Amazonia. These genetic differences influence seed chemistry—Criollo often has less bitterness—so your approach to the cocoa fermentation process must adapt to varietal traits when targeting flavor outcomes.
Cultivation Conditions
You cultivate cacao best between 20–32°C with annual rainfall of 1,000–2,500 mm, typically under 20° latitude and often shaded by taller canopy trees. Altitudes up to 800–1,000 m suit many farms, soil pH 5–7 is preferred, and these microclimate variables directly affect pulp sugar and acidity, which in turn steer the cocoa fermentation process toward specific flavor profiles.
You can fine-tune outcomes by managing canopy density, irrigation and soil fertility: for example, increasing shade reduces heat stress but can slow drying, while supplemental potassium boosts pod set and pulp sugar—factors that alter yeast and bacterial succession during the cocoa fermentation process and shift volatile development in the beans.
Geographic Distribution
You observe that roughly 70% of global cocoa comes from West Africa, with Côte d’Ivoire alone supplying about 40% and Ghana near 20%; Indonesia contributes around 15%, while Ecuador and Brazil remain important Latin American sources. These regional differences mean the cocoa fermentation process varies widely in scale and technique from smallholder heaps in Ghana to larger fermenters in Indonesia.
You’ll find terroir-driven distinctions: Ecuador’s Nacional yields fine-flavor beans favored by craft chocolatiers, and Madagascar’s high-acidity beans lead producers to shorten or adapt fermentation to avoid excessive acetic bite, showing how your local growing region dictates adjustments to the cocoa fermentation process to achieve desired flavor targets.
Harvesting Cocoa Pods
You time harvesting to feed the cocoa fermentation process with optimal pulp; pods typically ripen 5–6 months after flowering and contain about 30–40 beans each, so you plan collection rounds every 2–3 weeks. You can compare local techniques and outcomes via community threads like Cocoa Bean Fermentation Process and Its Impact on … to refine how your harvest affects the cocoa fermentation process and final flavor.
Identifying Ripe Pods
You watch for clear color shifts—green to yellow, orange, or red depending on variety—and feel for a slight softening; ripe pods often detach easily with a gentle twist. You count beans when possible (about 30–40 per pod) to estimate pulp volume feeding the cocoa fermentation process, and you avoid pods with dark streaks or internal browning that could compromise fermentation yield and quality.
Techniques for Harvesting
You cut pods using a sharp machete or angled pruning knife, leaving a 2–3 cm stub to prevent trunk damage and disease. You harvest systematically from low to high and collect at 2–3 week intervals so the cocoa fermentation process receives consistent batches of fresh pulp for even fermenting.
You use pole cutters for pods above 3–5 m and hand tools for lower fruit; smallholders in West Africa commonly harvest 20–30 pods per worker per day during peak season. You never pull pods, since tearing the cambium increases infection risk that can alter the cocoa fermentation process and reduce bean quality.
Tools and Equipment Used
You rely on machetes (30–40 cm blades), pruning knives, 3–5 m pole cutters, harvest baskets of 20–30 kg capacity, and clean tarps for transport. You label batches by plot or harvest date to track which inputs produced the best results during the cocoa fermentation process and to inform post-harvest choices.
You maintain tools by sharpening blades weekly and disinfecting cutting edges between plots to limit disease spread; use padded handles and gloves to reduce fatigue during multi-hour harvests, and assign one collector per labeled basket to preserve batch traceability for the cocoa fermentation process and subsequent quality assessments.
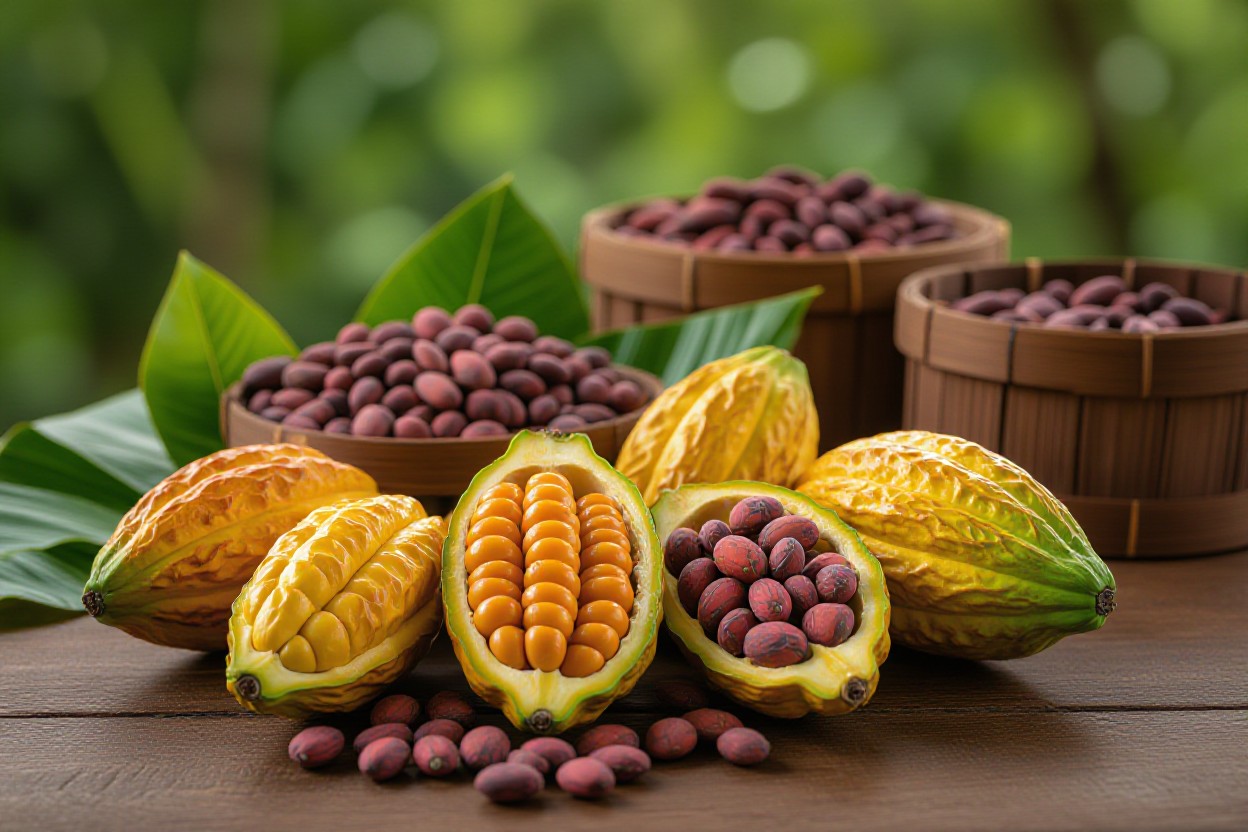
Pod Opening Process
You split pods carefully to expose the mucilaginous pulp and beans without bruising seed coats; a clean cut preserves fermentative microbes that drive the cocoa fermentation process. Use a machete or wooden mallet and collect beans immediately into boxes or banana-leaf heaps to start fermentation within 12–24 hours. For deeper reading on timing and flavor outcomes consult Understanding Chocolate Fermentation and Flavor …
Traditional Methods of Opening Pods
You’ll find most smallholders use a machete to slice pods longitudinally or a wooden mallet to crack them on a rock; both methods aim to keep 30–40 beans per pod intact. In Ghana and Ecuador, workers typically open 200–300 pods per person per day, feeding beans directly into 25–60 kg wooden boxes that begin the cocoa fermentation process with native yeasts.
Techniques for Handling Beans and Pulp
You should scoop beans with pulp into clean fermentation vessels, layering banana leaves to control airflow and temperature; avoid rinsing beans because the pulp fuels the cocoa fermentation process. Aim for uniform 25–60 kg loads so heat development is predictable and microbial succession proceeds evenly.
After loading, sort out discolored or insect-damaged beans by hand to prevent off-flavors; weighing batches lets you monitor target masses—commonly 30–50 kg for boxes, 200–400 kg for heap fermentations. You’ll turn boxes after 48–72 hours in many systems to redistribute heat; in contrast, heap methods often require manual loosening every 24–36 hours. These choices directly shape the cocoa fermentation process, influencing final acidity, volatile profiles, and bean color.
Importance of Speed in Pod Opening
You must open pods promptly—ideally within 12–24 hours of harvest—because delays let undesirable bacteria colonize the pulp and deplete sugars needed for the cocoa fermentation process. Fast handling reduces mold risk and preserves flavor precursors that generate fruity and floral notes during fermentation.
Data from farm trials show that opening pods within 12 hours increases desirable ester formation by 15–30% versus 48-hour delays; extended exposure often raises moisture heterogeneity and results in inconsistent ferment temperatures. You should therefore coordinate harvest and labor to maintain a continuous flow into fermentation, since timing at this stage sets the biochemical trajectory for the entire cocoa fermentation process.
The Role of Fermentation in Cocoa Processing
Fermentation converts pulp sugars into ethanol and acids, driving enzymatic reactions that create chocolate precursors; you should monitor 2–7 days of fermentation where temperatures climb to 45–50°C and pH falls, shaping bitterness, acidity and aroma. Proper management during the cocoa fermentation process directly impacts final cocoa butter quality, roast behavior and the balance of floral, fruity and roasted notes.
Overview of Fermentation
Initially yeasts consume pulp sugars producing ethanol, then lactic acid bacteria and Acetobacter oxidize ethanol to acetic acid while temperatures rise, killing the embryo and activating internal enzymes; you will see mass transfer from pulp to bean and onset of flavor precursor formation. Modern boxes, heaps or trays each influence aeration and drainage, so your choice alters the course of the cocoa fermentation process.
Historical Context of Fermentation Practices
Indigenous methods in Mesoamerica used heap fermentations for small batches, while West African producers later adopted box systems to handle 100–300 kg loads; you can trace the evolution to mid-20th century standardization by research stations seeking consistent yields. These shifts in technique have guided how farmers implement the cocoa fermentation process at scale across major producing regions.
Over time varietal and regional preferences shaped methods: Criollo farmers favored gentler, shorter ferments to preserve delicate floral notes, whereas Forastero producers often used longer, hotter ferments to reduce bitterness and astringency; you can see this in case studies from Ecuador and Ghana where method adjustments produced markedly different flavor profiles in the cocoa fermentation process.
Microbial Activity During Fermentation
Species succession typically starts with Saccharomyces spp., then Lactobacillus and Leuconostoc, followed by Acetobacter and other aerobic bacteria that convert ethanol to acetic acid; you should track temperature and oxygen to steer these populations. Their metabolites diffuse into beans, drive Maillard precursor formation and determine the sensory trajectory of the cocoa fermentation process.
Experimental inoculations with selected yeasts and LAB have demonstrated more predictable kinetics—studies report inoculated batches showing faster ethanol peaks and reduced off-flavor risk; you can apply starter cultures or adjust turning schedules to control microbial succession and optimize outcomes in your cocoa fermentation process.
Fermentation Methods
In the cocoa fermentation process you select between open heaps, wooden boxes, or covered baskets to shape temperature, oxygen flow and microbial succession; heaps cost little while boxes give greater control. The cocoa fermentation process typically runs 3–7 days with temperatures peaking near 45°C and staged yeast-to-bacteria transitions that drive pulp breakdown and formation of key flavor precursors in the beans.
Traditional Fermentation Techniques
Across West Africa and parts of South America you often use heap fermentation—beans piled and covered with banana leaves—or turned wooden boxes; both rely on ambient yeasts and lactic bacteria and usually run 5–7 days. Local examples show Ghanaian box systems reduce under-fermented beans compared with open heaps, and tray fermentations on small farms promote complex aromatic precursors during the cocoa fermentation process.
Modern Implementations
On commercial farms you adopt controlled stainless-steel tanks, forced aeration, and inline temperature and pH sensors to compress the cocoa fermentation process into 48–96 hours while holding tighter heat profiles. Automated turning and data logging let you standardize microbial succession; pilots in Ecuador and Brazil report fewer off-flavors and more uniform bean chemistry when systems are calibrated to target curves.
When you scale modern setups, selected starter cultures (e.g., Saccharomyces sp. and Lactobacillus sp.) and timed aeration cycles let you hit predictable acidity and aromatic compound windows. For instance, inoculation trials shortened active yeast phases by ~24–36 hours and, when combined with model-based controls, enabled over 70% of batches to meet predefined fermentation curves for downstream roasting in the cocoa fermentation process.
Comparison of Fermentation Methods
You compare methods by consistency, cost, and flavor diversity: traditional heaps give terroir-driven complexity but greater batch-to-batch variance, while modern systems boost repeatability and reduce sorting losses. Typical trade-offs include 5–7-day traditional timelines versus 2–4-day controlled runs, and higher capital expenditure for mechanized systems that deliver more predictable chemical precursors in the cocoa fermentation process.
To evaluate performance you track metrics such as temperature curves (target 40–48°C), pH drop magnitude, and percent under-fermented beans; controlled methods can cut under-fermented rates from roughly 10–15% down to under 3%, improving yield and consistency.
Comparison: Traditional vs Modern
| Aspect | Traditional vs Modern |
|---|---|
| Duration | Traditional: 5–7 days; Modern: 48–96 hours |
| Control | Traditional: ambient microbes, manual turning; Modern: sensors, aeration, inoculation |
| Flavor variability | Traditional: high terroir variability; Modern: targeted, repeatable profiles |
| Cost & infrastructure | Traditional: low capital, higher labor; Modern: higher capital, lower sorting losses |
| Examples & outcomes | Traditional: village heaps, Ghanaian boxes; Modern: Ecuador pilots, industrial fermenters with improved batch uniformity |
Understanding Fermentation Duration
Fermentation length in the cocoa fermentation process typically ranges from 48 hours to 10 days depending on variety and goals; fine-flavor Trinitario often hits 4–7 days while Forastero can be leaned toward 5–8 days. You monitor temperature peaks (commonly 45–50°C) and aroma shifts to gauge progress, and you should plan turns or aeration schedules around those windows to steer flavor development.
Factors Affecting Fermentation Time
Bean genotype, pulp sugar content, ambient temperature, heap or box size, and how often you turn the mass all shape the cocoa fermentation process; for example, high-sugar Nacional beans may finish in 72–96 hours, while dense Forastero lots can need 6–8 days. You also adapt to harvest ripeness and local microbial consortia, and you may adjust time after cut-tests. Any changes require close monitoring of temperature and aroma.
- Bean variety (Criollo/Trinitario vs Forastero)
- Pulp sugar and moisture levels
- Heap size, bin design, and turning frequency
- Ambient temperature and humidity
- Microbial profile and pre-fermentation handling
Optimal Fermentation Duration
For a balanced cocoa fermentation process you often aim for 4–7 days: this window lets yeasts, lactic acid bacteria, and acetic acid bacteria complete sequential activity that develops chocolate precursors while avoiding excessive acetic damage. You base the exact duration on cut-tests, aroma, and internal temperature curves rather than a fixed calendar.
Practically, you track phases: yeasts dominate first 24–48 hours converting sugars to ethanol, lactic bacteria follow in the next 24–48 hours, and acetic bacteria oxidize ethanol while raising temperature to 45–50°C, which kills the embryo and initiates internal biochemical changes; you shorten or lengthen the cocoa fermentation process based on visual cut-tests and aroma profiles.
Signs of Under and Over Fermentation
Underfermented beans in the cocoa fermentation process show purple or slaty cotyledons, flat or generic fruity aromas, low acidity, and underdeveloped chocolate notes; overfermented beans emit strong vinegary or putrid smells, display mold or slimy pulp, and produce excessive bitterness or dull, astringent chocolate. You use cut-tests, smell, and texture to differentiate.
In practice, underfermentation often results when you stop at under 48–72 hours for many varieties, leaving violet pigments and grassy notes, while overfermentation appears after prolonged exposure (commonly beyond 8–10 days) with excessive acetic scorch and mold risk; you confirm by cutting several beans from different heap zones—uniform brown cotyledons indicate proper fermentation.
The Science Behind Flavor Development
You can trace flavor evolution to sequential chemical reactions and microbial activity during the cocoa fermentation process; sugars convert to ethanol, ethanol to acetic acid, and polyphenols oxidize and polymerize, reducing bitterness. Across 2–7 days, temperatures commonly rise to 45–50°C and pH drops from ~6.5 to 4.5, setting up the precursors that later, during roasting, generate chocolate’s floral, fruity, and caramel notes via Maillard and Strecker pathways.
Chemical Changes During Fermentation
During the cocoa fermentation process, invertase and endogenous proteases break down sucrose and proteins into reducing sugars and free amino acids, with proteolysis often increasing free amino acids 2–5×. You’ll see polyphenol content fall by 30–60% as oxidation reduces astringency, while organic acids accumulate—acetic acid reaching 0.5–1%—that acidify beans and drive internal enzymatic reactions important for later roast development.
Role of Microorganisms in Flavor Profiles
You observe distinct microbial succession in the cocoa fermentation process: yeasts dominate the first 24–48 hours (e.g., Saccharomyces cerevisiae), producing ethanol and fruity esters; lactic acid bacteria follow, contributing lactic acid and subtle sour notes; then Acetobacter oxidizes ethanol to acetic acid, creating acidity and heat that diffuse into cotyledons and alter flavor precursor chemistry.
For example, in many Ghanaian and Ecuadorian fermentations you’ll notice yeast-driven ester profiles giving berry and floral notes when fermentation is 48–72 hours, whereas prolonged Acetobacter activity over 72–96 hours increases acetic levels that accentuate sharp, vinegar-like tones; monitoring these phases lets you adjust turn frequency, heap size, or aeration to shape the final chocolate profile within the cocoa fermentation process.
Precursor Formation and Its Importance
You depend on precursor formation during the cocoa fermentation process to supply the building blocks for roast reactions: free amino acids and reducing sugars formed by proteolysis and carbohydrate hydrolysis become substrates for Maillard reactions and Strecker degradation, producing pyrazines, aldehydes, and ketones that create cocoa, nutty, and toasted notes during roasting.
Studies show that well-managed fermentations raising internal bean temperatures to ~45°C and maintaining active protease and invertase activity produce higher concentrations of methionine, phenylalanine, and glucose, which directly correlate with increased Strecker aldehydes and desirable chocolate aroma intensity after roasting—so you can use time, temperature, and aeration controls within the cocoa fermentation process to target specific flavor outcomes.
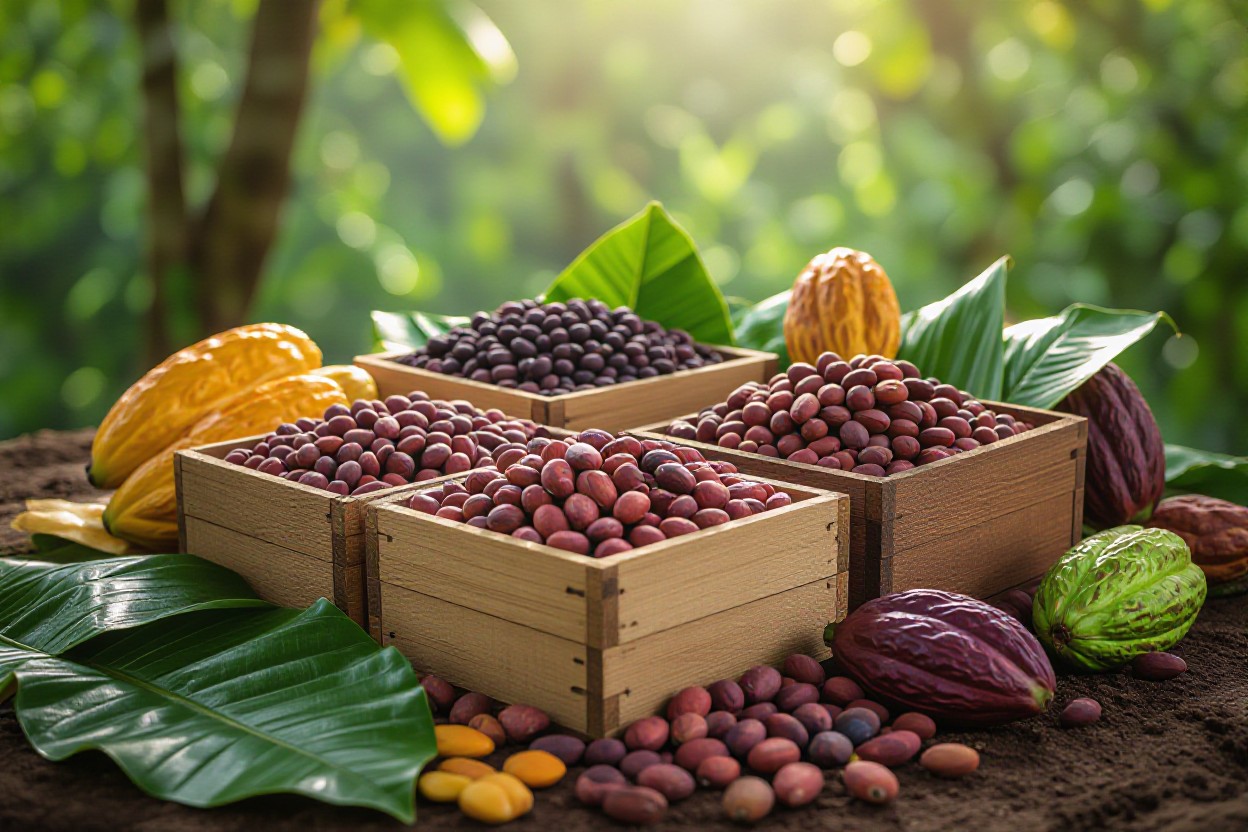
Drying the Fermented Beans
Drying follows fermentation to halt microbial activity and stabilize developing aromas; in the cocoa fermentation process you’ll typically reduce bean moisture to about 6–7% over 3–7 days, with timing driven by weather and method, and you’ll monitor color, texture, and smell to decide when to move beans to storage.
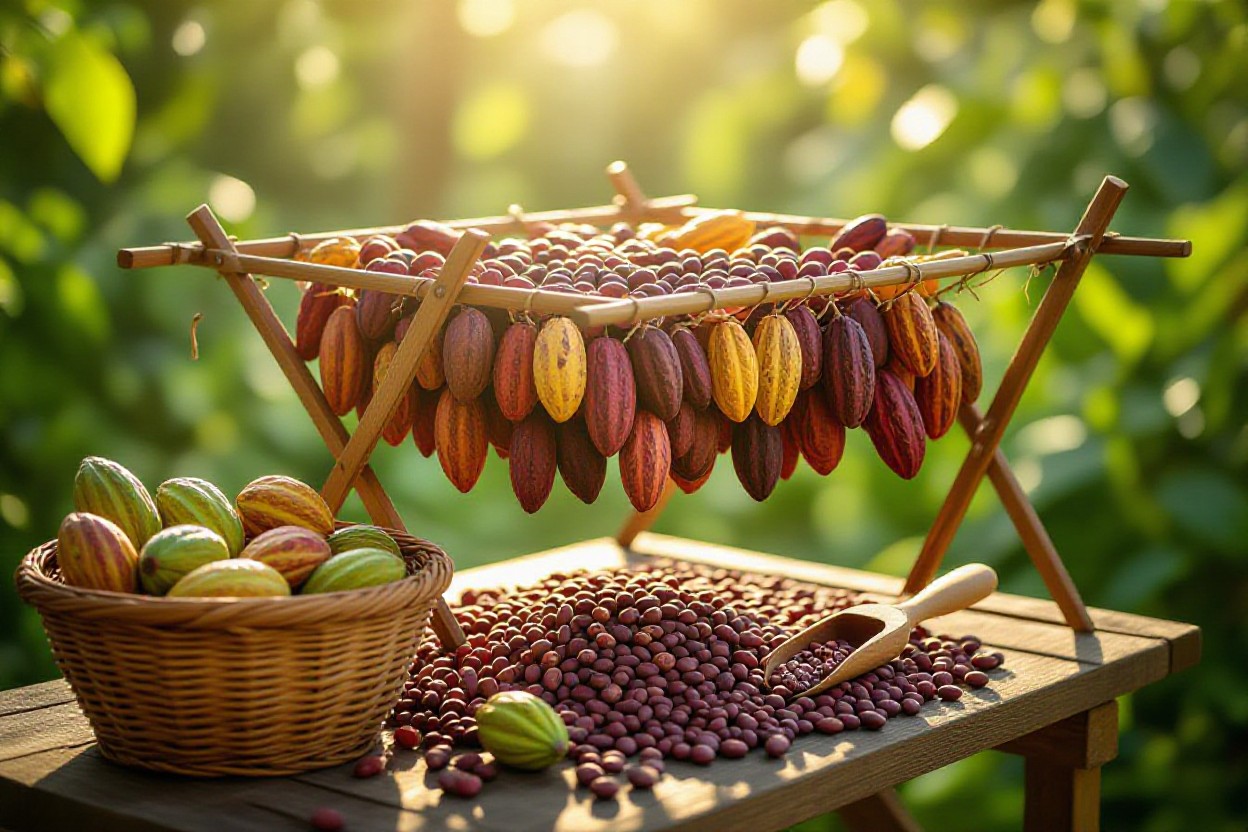
Methods of Drying
Sun-drying on raised beds remains widespread—producers often lay beans 2–5 cm thick and turn them 2–4 times daily; solar tents and hybrid dryers extend drying during rain, while mechanical dryers can finish beans in 24–48 hours at controlled 45–55°C, though mechanical use in the cocoa fermentation process demands careful airflow management to avoid baked notes.
Importance of Proper Drying Conditions
You must control temperature, humidity, and airflow because improper drying can lock in undesirable acids or promote mold; within the cocoa fermentation process that means avoiding stagnation or overheating so you preserve the fermentation-developed precursors that lead to chocolate complexity instead of sour or musty faults.
If humidity rises above ~70% or drying slows, you should re-spread beans and increase turning frequency; in rainy regions producers switch to covered raised racks or intermittent mechanical drying to maintain steady moisture decline, since uneven drying in the cocoa fermentation process creates hotspots where off-flavors can form.
Indicators of Well-Dried Beans
Look for uniform dark-brown cotyledons, a brittle snap when pressed, a clean fermented aroma, and an oven-tested moisture around 6–7%; these practical signs indicate the cocoa fermentation process reached the drying endpoint and beans are ready for bagging and transport.
In practice, you can track daily weight loss—when it stabilizes you’ve likely hit target moisture; cutting random beans to check for homogeneous color and absence of gray, slaty cores, plus no mold or sticky surfaces, confirms successful drying and protects the outcomes of the cocoa fermentation process.
Quality Assessment of Fermented Beans
To judge finished batches you rely on a mix of objective tests and sensory checks; in the cocoa fermentation process this means sampling multiple pits, performing cut tests and pH measurements, and tracking temperature logs (typically 40–50°C) over the standard 3–7 day window to confirm consistent acid development and browning.
Visual Indicators of Fermentation Quality
Look for uniform brown cotyledons with minimal purple or slaty beans—well-fermented lots usually show 65–80% brown nibs on cut tests; in the cocoa fermentation process surface mold or germinated beans signal drying or turning failures, while even pulp drainage and an absence of intact mucilage indicate proper microbial succession.
Testing for Flavor Development
Sensory cupping and small-scale roasting let you evaluate fruity, floral or off-note profiles, while basic lab checks—pH around 4.5–5.5 and Brix/pulp sugar before fermentation—predict flavor trajectories in the cocoa fermentation process and guide adjustments to time and aeration.
For deeper analysis you use GC–MS to profile volatiles (esters, pyrazines, aldehydes) and trained panels of 5–7 tasters to score acidity, bitterness and specific notes on a 1–10 scale; the cocoa fermentation process parameters (3–7 days, turning intervals) correlate strongly with ester formation and perceived fruitiness, so combine chemical and sensory data for reliable decisions.
Role of Farmers in Quality Control
Farmers directly shape outcomes by controlling batch size, turning frequency (commonly every 24–72 hours), and total fermentation length—small changes you make at the farm level in the cocoa fermentation process often determine whether beans reach desired acidity and flavor precursors before drying.
Practical measures you can implement include using simple thermometers and log sheets, standardizing box loads to 100–300 kg, and training pickers to discard underripe pods; for example, many cooperatives adopt 5-day protocols with turns at 24 and 72 hours to consistently achieve 70–80% well-fermented beans in the cocoa fermentation process.
The Impact of Fermentation on Final Chocolate Quality
In the cocoa fermentation process you directly shape acidity, aroma precursors and bitterness through timing and temperature control; typical fermentations run 3–7 days with pile or box methods and temperatures often peaking near 45°C. When you adjust oxygen exposure or yeast succession, the cocoa fermentation process yields more fruity esters or deeper roasted precursors, as detailed in The Wild New World of Flavor Fermentation in Cacao, showing how microbe-driven shifts alter final chocolate.
Flavor Profile Variations
You can coax citrus, floral or nutty notes by tweaking fermentation length and turning schedules; the cocoa fermentation process often produces brighter fruit at 3–4 days and more mellow chocolatey notes at 5–7 days. For example, Nacional beans from Ecuador tend toward floral complexity when fermented shorter under controlled temperatures, while Forastero from West Africa gives more robust cocoa flavors with longer, hotter ferments.
Consumer Preferences and Market Trends
Shifts in your customers’ tastes drive demand for beans with distinct fermentation signatures, and the cocoa fermentation process is now a selling point for single-origin and craft bars. Specialty chocolate brands increasingly list fermentation days and microbe management on labels, and many consumers pay premiums for traceable fermentation methods that deliver perceived quality and provenance.
You should note market data: premium single-origin bars often command 20–60% higher retail prices than commodity chocolate, and buyers increasingly request beans fermented 4–6 days with documented profiles. Direct-trade models reward farmers who demonstrate reproducible cocoa fermentation process controls, letting you match flavor claims to price premiums and win shelf space in competitive markets.
Economic Implications for Farmers
When you refine the cocoa fermentation process on-farm, labor and infrastructure needs rise—boxes, mats and temperature monitoring—but so can farmgate prices: fine-flavor lots regularly fetch notable premiums over bulk Forastero. Smallholders who adopt standardized fermentation and drying can move from commodity buyers to specialty buyers, improving income stability while absorbing upfront costs.
To capitalize, you’ll invest in training and simple equipment—fermentation boxes, calibrated thermometers, and record-keeping—and often partner with cooperatives or buyers for technical support. Case examples show cooperative-led fermentation programs increasing sales value and market access; by documenting your cocoa fermentation process you make quality verifiable and buyers more willing to pay higher, consistent prices.
Innovations in Cocoa Fermentation
You’ll notice modern work on the cocoa fermentation process blends digital controls with hands-on know-how: temperature and pH sensors logging data every 5–15 minutes, controlled aeration that keeps core temps between 40–50°C, and starter cultures that standardize microbial succession, all aimed at reducing batch variability and enhancing desirable aroma precursors like pyrazines and esters.
Advances in Fermentation Technology
In pilot programs you can see box fermenters and aerated plastic bins replacing simple heaps, with IoT sensors and mobile dashboards letting you track °C and O2 in real time; producers in Ghana and Ecuador report fewer over-fermented batches and more consistent cocoa fermentation process outcomes when automated turn schedules and data logging are applied.
Integration of Science and Tradition
You often combine starter cultures—Saccharomyces cerevisiae and Lactobacillus plantarum—with traditional wooden boxes, training farmers to adapt turn frequency and bean mass size; sensory panels in Madagascar show this hybrid approach preserves origin character while improving predictability across the cocoa fermentation process.
Through targeted workshops you learn to map local practices to lab data: inoculate on day 0, monitor pH dropping from roughly 6.5 to about 4.8 over 48–72 hours, and adjust aeration to control acetic acid peaks—methods that help you keep fermentations within flavor windows identified for the cocoa fermentation process.
Future Trends in Cocoa Processing
Expect the cocoa fermentation process to adopt machine-learning models that predict flavor outcomes from early temperature, pH and microbial reads, blockchain traceability for batch provenance, and tailored protocols for specific cultivars; industry forecasts point to wider adoption of precision fermentation tools by 2030.
When you apply NIR spectroscopy and metabolite sensors, models trained on datasets of 10,000+ fermentations can recommend interventions before off-flavors develop, so you modify aeration or inoculation schedules in real time and steadily increase both quality and traceable value for buyers.
Education and Training for Farmers
You learn practical techniques to control temperature, aeration and acidity, using simple tools like thermometers and pH strips to manage the cocoa fermentation process; field sessions show you how 48–168 hour fermentations, turned at set intervals, evolve flavors and reduce off-notes, and demonstration plots let you compare bean color, cut tests, and basic cupping results side-by-side to link practice to quality.
Importance of Knowledge Sharing
You benefit when extension agents and farmer-to-farmer exchanges spread proven protocols for the cocoa fermentation process, as demonstrations of box design, turning schedules, and hygiene reduce variability; structured knowledge sharing in village meetings or radio programs helps scale techniques that improve consistency across harvests.
Training Programs and Workshops
You attend focused 3–5 day workshops covering stage-by-stage control of the cocoa fermentation process, including monitoring temperature, Brix and pH, using microbial starter options, and basic post-ferment drying to prevent contamination; trainers often combine classroom theory with hands-on fermentation and cupping sessions.
You practice standard operating procedures during workshops: you record hourly temperatures, sample pulp every 24 hours, perform cut tests, and conduct simple sensory scoring; partnerships with buyers or research stations often provide starter kits and follow-up coaching to help you implement the cocoa fermentation process on your farm and document improvements for premium markets.
Building Community and Cooperation
You strengthen quality by pooling resources—shared fermentation boxes, communal drying yards, and collective quality control—so the community can standardize the cocoa fermentation process, meet buyer traceability requirements, and pursue certifications that open higher-value channels.
You coordinate schedules and responsibilities within cooperatives, set joint SOPs for cleaning and turning, and maintain shared records so buyers can trace batches; by organizing collective cupping panels and quality committees you increase bargaining power and help your group demonstrate consistent results from the cocoa fermentation process.
The Role of Chocolatiers in Cocoa Quality
You steer post-harvest practices by defining desired fermentation profiles, funding on-farm trials, and designing roast curves that reveal origin-specific aromatics; many bean-to-bar makers cup 50–200 samples per harvest to calibrate. By linking sensory targets back to the cocoa fermentation process, you influence turning frequency, pulp management and drying schedules to consistently hit flavor benchmarks like floral, red fruit or nutty notes.
Selection Criteria for Cocoa Beans
You evaluate origin, fermentation index, moisture (typically 6–8%), and cut-test results—aiming for 70–90% well-brown kernels—then tie those metrics to sensory scoring. Practical checks include pH (post-fermentation around 4.8–5.5), residual pulp levels and absence of off-odors; using the cocoa fermentation process data, you prioritize lots that match your roast curve and target flavor descriptors.
Relationship with Cocoa Farmers
You often build direct partnerships, offering premiums—commonly 10–30% above commodity rates—for beans fermented to specification and providing feedback from cuppings. Regular communication lets you align expectations on turning schedules, fermentation length (3–7 days) and drying methods so the cocoa fermentation process produces predictable flavor precursors.
You frequently implement joint trials: sending fermentation boxes, thermometers and simple SOPs, then measuring temperature curves and cut-test outcomes together. In one cooperative model you might formalize a five-day protocol with aerobic turnings every 48 hours, track moisture to 6–7% at drying, and see sensory scores improve, all tied back to refinements in the cocoa fermentation process.
Ethical Sourcing and Sustainability
You integrate traceability, living income goals and agroforestry into sourcing choices; certifications (e.g., Fairtrade, Rainforest Alliance) help, but direct support often yields faster improvements. Using the cocoa fermentation process to reduce pulp runoff through on-site composting and controlled boxes minimizes environmental impact while improving bean quality for your chocolate lines.
You can quantify sustainability by measuring yields, biodiversity and household income after interventions: for example, agroforestry trials that paired fermentation training with shade-tree planting increased on-farm diversity and provided alternative income streams. Applying lifecycle thinking to the cocoa fermentation process—less waste, better heat control—lowers emissions and raises traceable quality for consumers.
To wrap up
Ultimately, the cocoa fermentation process transforms fresh beans into flavorful chocolate and you should understand how temperature, microbes, and time shape flavor; the cocoa fermentation process depends on controlled aerobic and anaerobic phases that you monitor; by guiding pH and heat, the cocoa fermentation process develops chocolate precursors that you taste later; small variations in the cocoa fermentation process change acidity, fruitiness, and bitterness, so you influence final quality; the cocoa fermentation process is where bean potential becomes chocolate.